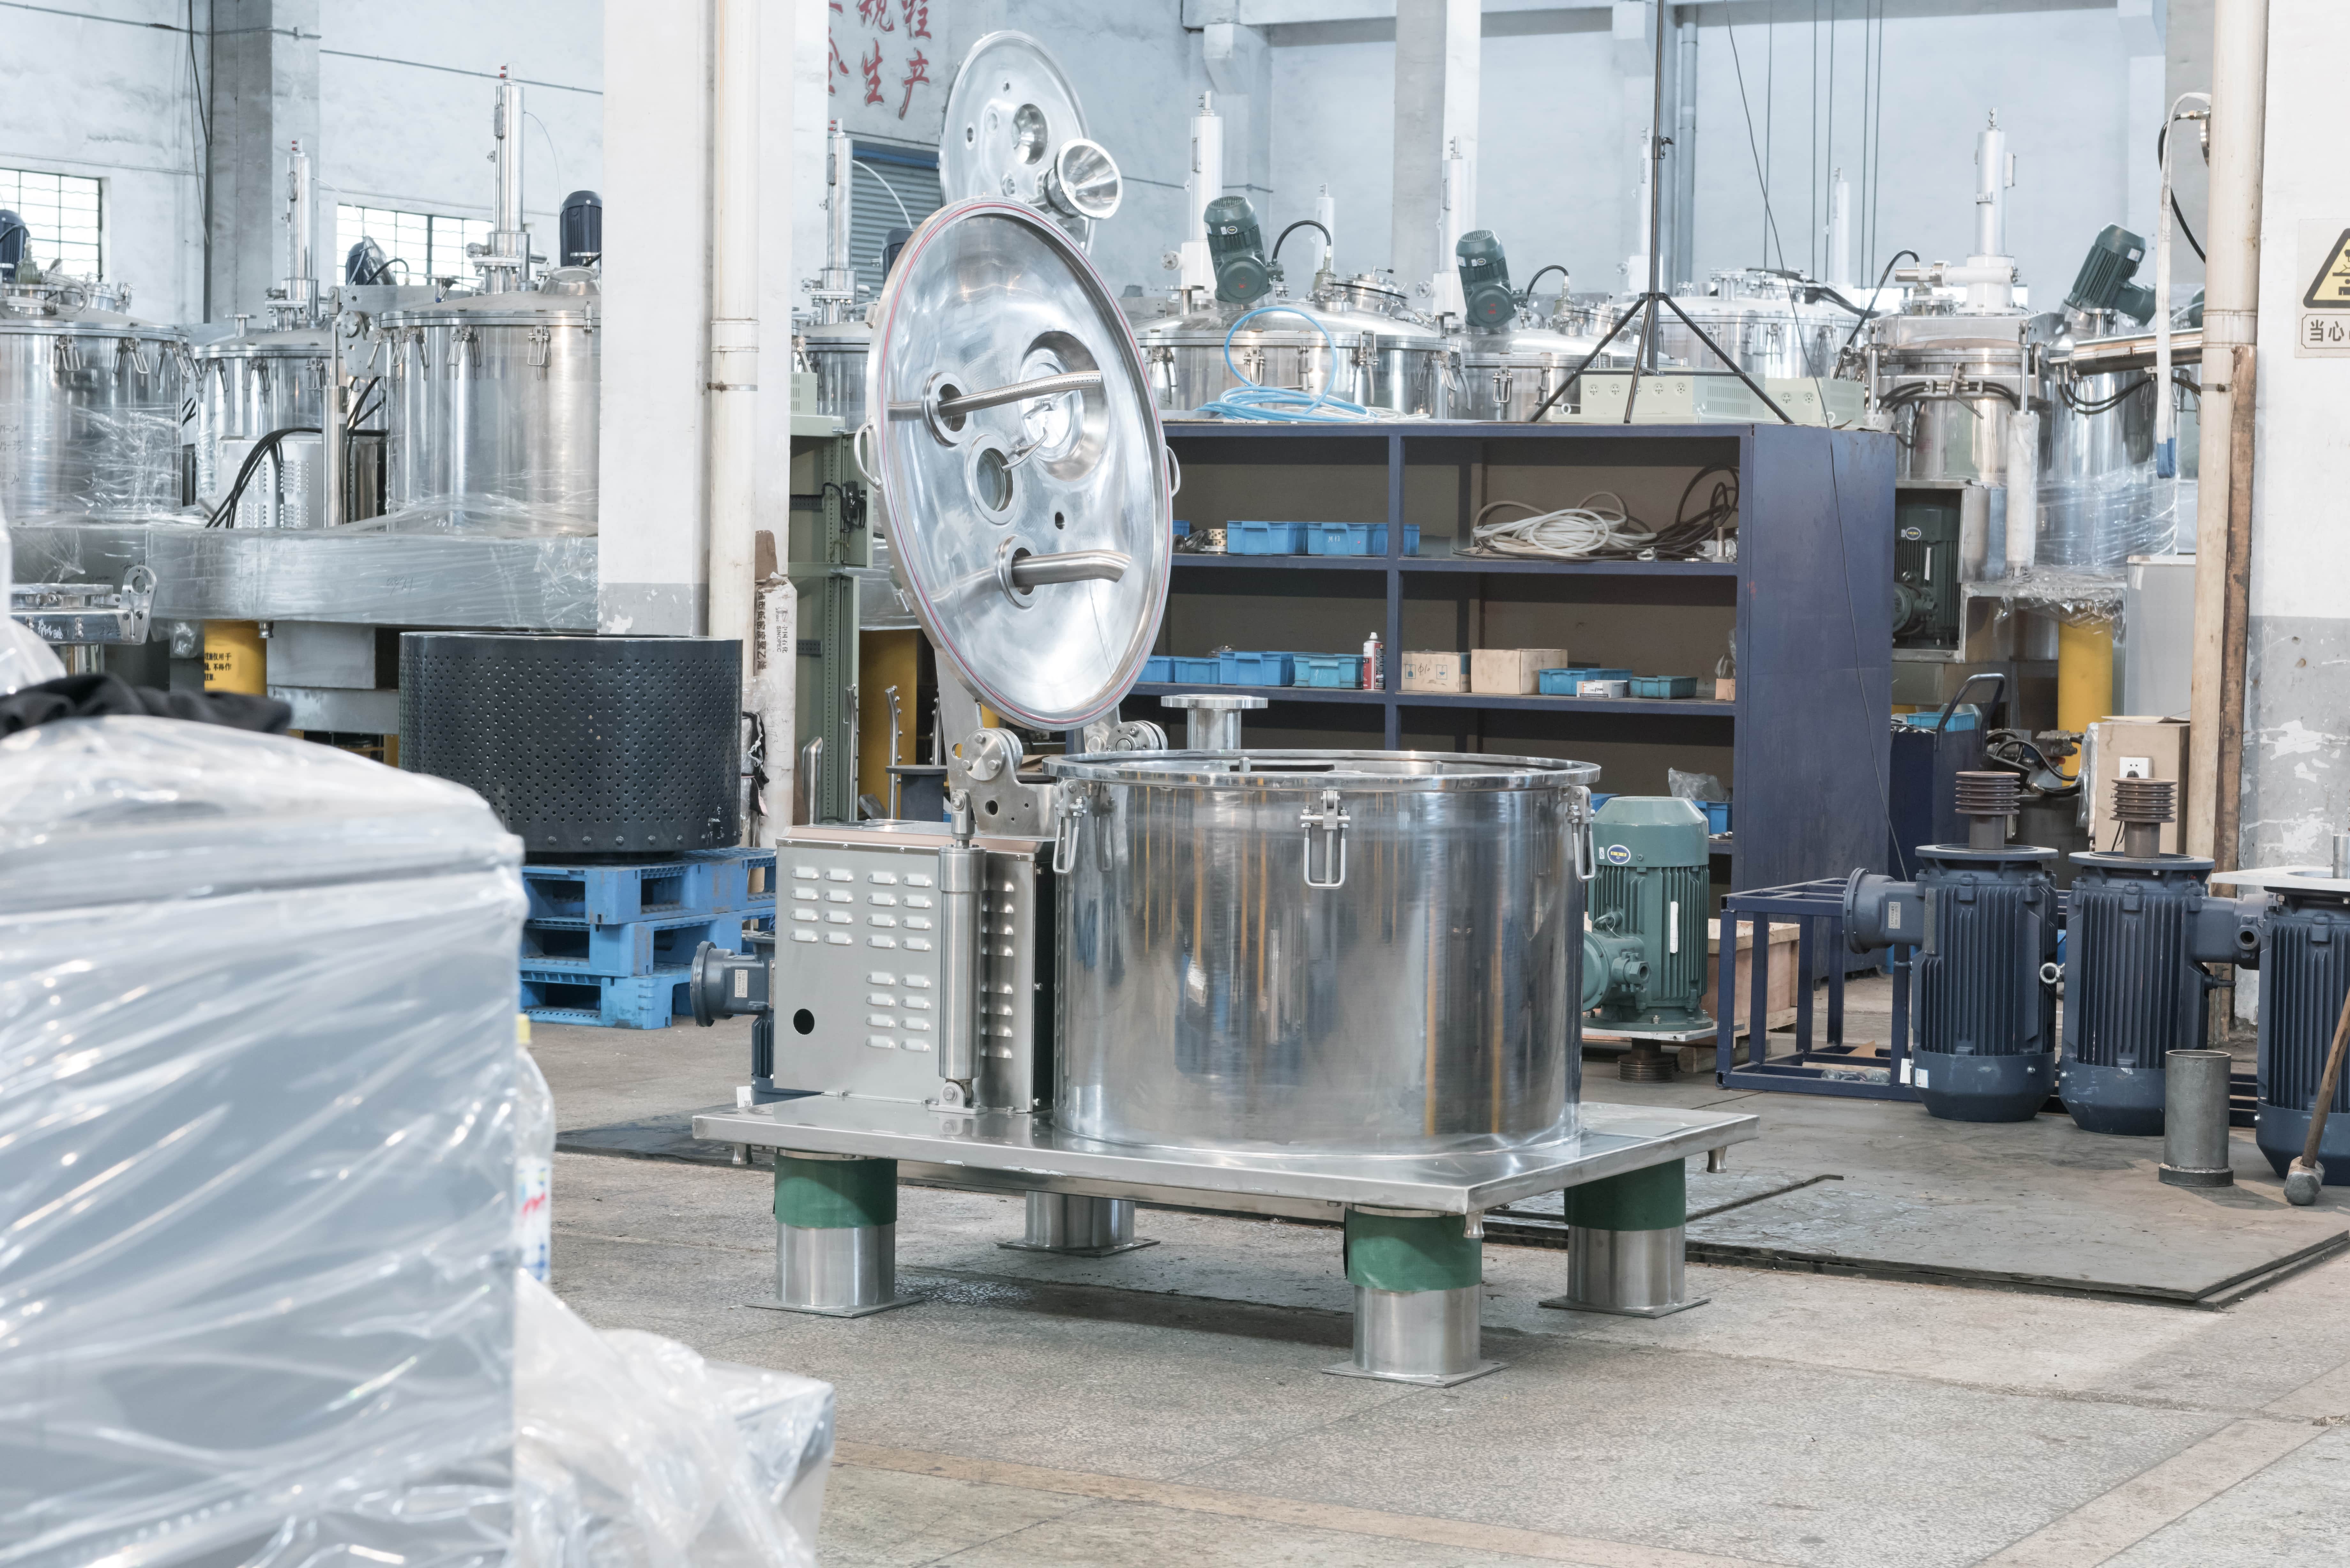
Firstly, ensure that all steps required in preparing for the installation of the auto scraper centrifuge have been successfully followed. Begin the installation by checking the installation site. Evaluate the available space in the area where the centrifuge will be located. The space should be flat and provide some area for further operations. The supporting ground must be reinforced to support the base of the centrifuge. Make sure to unpack the centrifuge and confirm all the items against the packing list. Ensure that these aren't missing: scraper, main body, and connecting pipes. Installation should also have been completed for the other preparation tools like level meters, wrenches, and screw drivers. Not preparing these tools and further steps would take a substantial amount of extra time to be completed during installation.
While positioning the auto scraper centrifuge, proper advanced preparation should be done. Mark the precise spot on the floor on which the centrifuge should sit based on the measurements offered in the manual. After, hover the centrifuge and drop it on the marked position using a crane or another lifting device. Ensure that the lifting process is done carefully and that no surrounding objects are in danger. After dropping the centrifuge, ensure that a level meter is used to check whether it is horizontal or not. If it is, the feet of the centrifuge should be adjusted, as the performance is dramatically affected when left unbalanced. After attention to position and level, the auto scraper should be attached to the floor using anchor bolts after which the movement of the screw during functional purposes is avoided.
Clean all the inlet and outlet pipes of the centrifuge and their connecting outside pipes to remove dirt and fragmented debris. Then, connect the inlet pipe of the centrifuge to the supply pipe and the outlet pipe to the discharge pipe. Put gaskets between the pipe flanges of the connections to avoid leakage from the joints. For the cables, check first the electrical specification of the centrifuge in the manual for proper voltage and current. Connect the power cable to the identified appropriate power out while strictly adhered to the electrical wiring diagram within the manual. Connect the necessary control cables to their respective control devices gently. After connecting all pipes and cables, essential loose parts, and wrong connections must be double-checked for final validation.
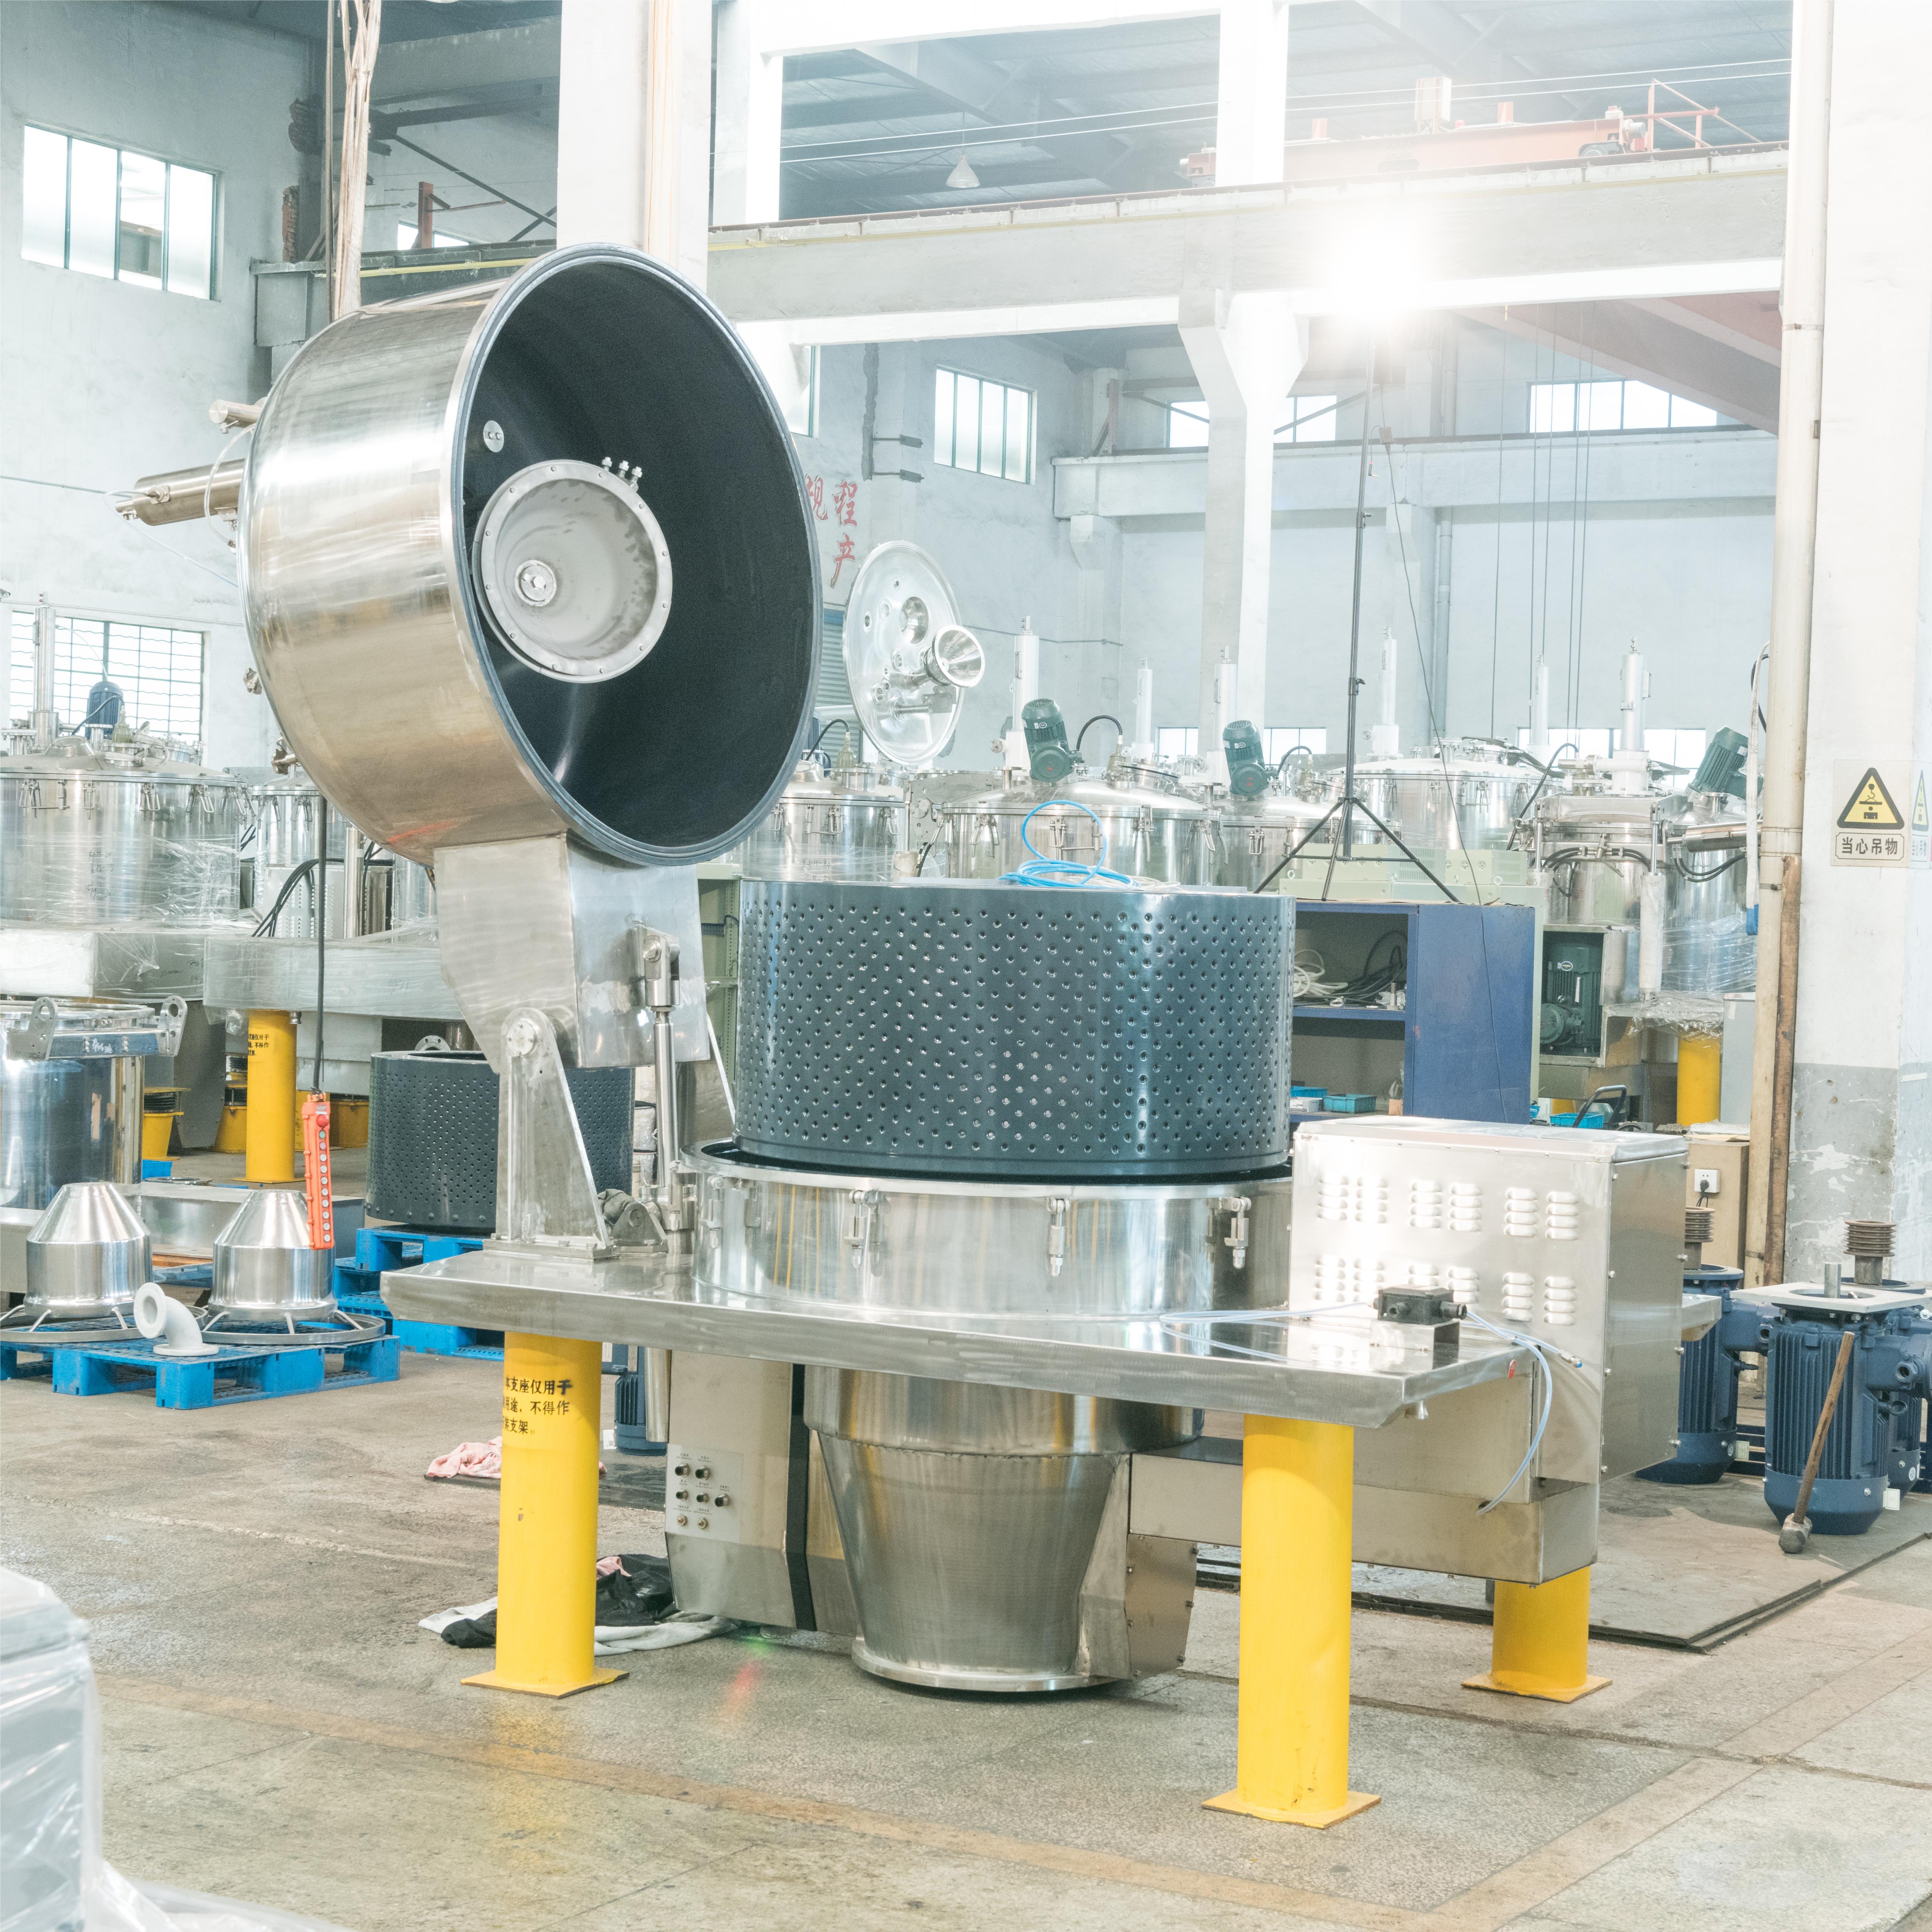
It is important to complete and perform all necessary assembling and wiring tasks, and is necessary to carry out the testing and adjustments to the auto scraper centrifuge prior to any full functional usage. The first step would be to perform the centrifuge test with no load. The power should be turned on, and the centrifuge should start on low and gradually increase the speed. Conditions when the centrifuge is working without any bumping, scratching, and/or abnormal noisiness should be monitored. In the case where any issues occur, the centrifuge should be immediately stopped and the reasoning to the parts losing components, or not being put together correctly should be evaluated. Then, it is necessary to complete the advised breaks while slowly increasing speed to the needed whichever the maximum speed is and let it remain centripetal for the recommended amount of time in the centrifuge's manual provided no load testing is done for the time being.
When the necessary portion of the centrifuge is filled and then turned on, there should be careful monitoring. le. The ability to perform downward slipping, the complete operation of the scraper, and necessary
In case of needing to get the maximum output, retaking the entire test in order to seek out the best and achieving all outlined goal pas is the best course of action.
Don't forget to conduct an inspection after installation and follow a few maintenance guidelines after passing all the tests for the auto scraper centrifuge and getting it ready for use. First, go to the entire installation side again and look at the position of the centrifuge, how tight the pipes and the cables and how all the parts look. Make sure that all parts and components are well maintained and undamaged. Next, for the daily maintenance, make sure to frequently clean the centrifuge and especially the scraper and the inner cavity to ensure that the performance is not affected by material build up. Regularly check the lubrication of movable parts and put lubricating oil as required. Make sure to also keep track of the operation time of the centrifuge, the maintenance that is done, and any issues that happens. This will assist you with any troubleshooting and aid in maintenance for the future.
By implementing the suggested guidelines for inspection and maintenance, you will be able to improve the overall functioning and lifespan of the auto scraper centrifugal.
 Hot News
Copyright © 2025 Jiangsu Huada Centrifuge Co., Ltd. All Rights Reserved Privacy policy
No. 88 Qigan Road, Yangshe Town, Zhangjiagang City, Jiangsu Province, China
Copyright © 2025 Jiangsu Huada Centrifuge Co., Ltd. All Rights Reserved Privacy policy
 EN
EN
 AR
AR
 HR
HR
 CS
CS
 DA
DA
 NL
NL
 FI
FI
 FR
FR
 DE
DE
 EL
EL
 HI
HI
 JA
JA
 KO
KO
 NO
NO
 PL
PL
 PT
PT
 RO
RO
 RU
RU
 ES
ES
 SV
SV
 TL
TL
 ID
ID
 LT
LT
 SR
SR
 SK
SK
 UK
UK
 VI
VI
 HU
HU
 TH
TH
 TR
TR
 FA
FA
 MS
MS
 IS
IS
 LO
LO
 LA
LA
 MN
MN
 MY
MY
 KK
KK
 UZ
UZ
 IT
IT